Lecture 25 - The Cloud: Running on the Real Cloud
We carry on discussing App Engine and discuss how to deploy your application to the Google App Engine (i.e. cloud).
What this lecture will teach you
- Deploy your application to Google App Engine
Deploying to Google App Engine
There are two steps to deploy your application to the cloud: 1. create an application on the cloud, and 2. upload your project to the cloud. In what follows, we show you how to do these two steps.
Creating an Application
- Login to Google App Engine's Application Overview, click "Create Application".
- Input the "Application Identifier" and click "Check Availability" to make sure it is available. Input the "Application Title" in the following text box. Your application's url will be http://.appspot.com. In the example showing below, the url is http://cs65gcmdemo.appspot.com.
- After creating the application, you can access your application's dash board by clicking the "dashboard" link on the result page.
Deploying an Application
Before deploying your application, you need to make sure your project is compiled using Java 1.7. To do this, right click your project and click "Properties". Go to "Project Facets", and make sure the facet names "Java" is 1.7 and checked.
- In eclipse, right click your project and click "Properties". Go to "Google" -> "App Engine", input your application id and version as shown below. It is up to you to decide the version number.
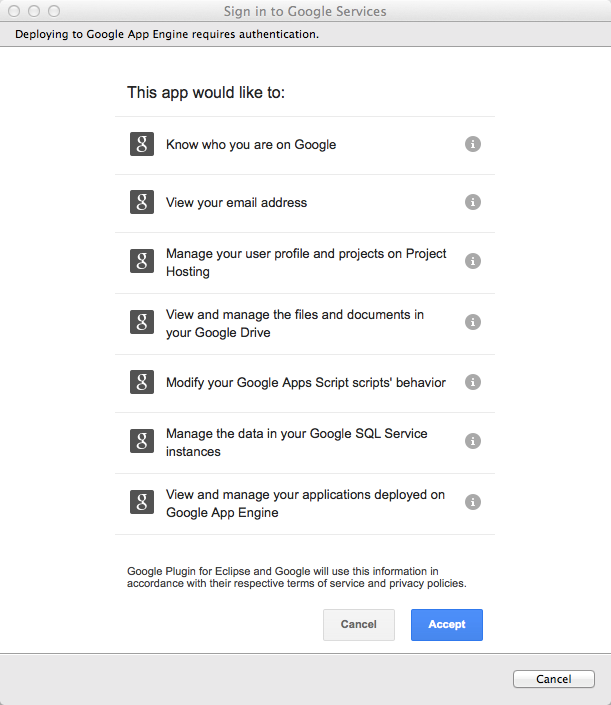
- Right click your project, go to "Google" -> "Deploy to App Engine", a login window will open. Login to your Gmail account to proceed.

- After login, click "Deploy" in the next window to start deploying your application to Google App Engine.
A progress bar will be showing.
- After deploying the application, go to the dashboard. Go to "Versions", and make the version you just deployed default.
- You can access your application using the URL now.


