**Final project**
# Rishav Chakravarty (F005G2J)
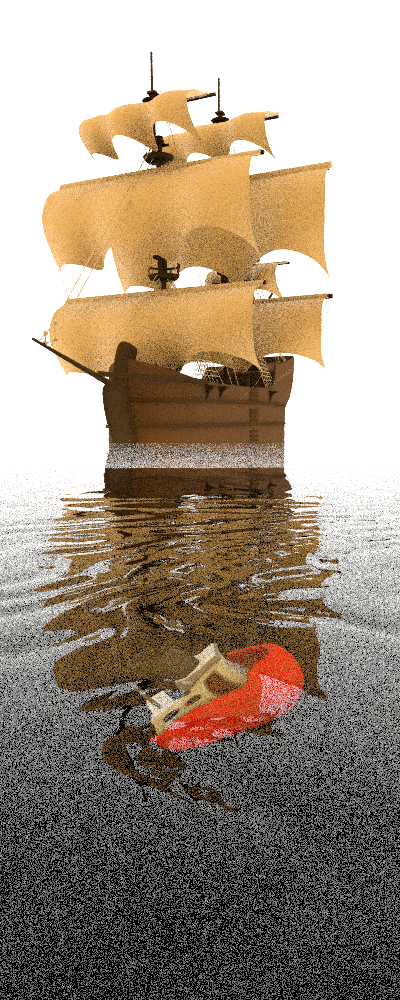
## Motivational image
This is the above-water portion of the scene. I like how there's a reflection of the ship on the water.
I want to render so that at lower angles, when the reflection is more dominated by transmission, the reflection fades
into the underwater view of the shipwreck.

## Theme: Reflections through Time
I want to make a render showing a ship and its reflection in a different time - sunken long ago and decayed.
The render plays on the fresnel effect of water reflection, where the reflection of the ship fades into the
transmission of the old, decayed ship underwater.
# Final render
# Features
## Photon Mapping
I implemented a photon mapping integrator with K-nearest-neighbors and a final gather approach.
I fire photons from the sun in the sky atmosphere (in a section below) as well as from the rest of the sky to get a
bluish shadow color (as real life has).
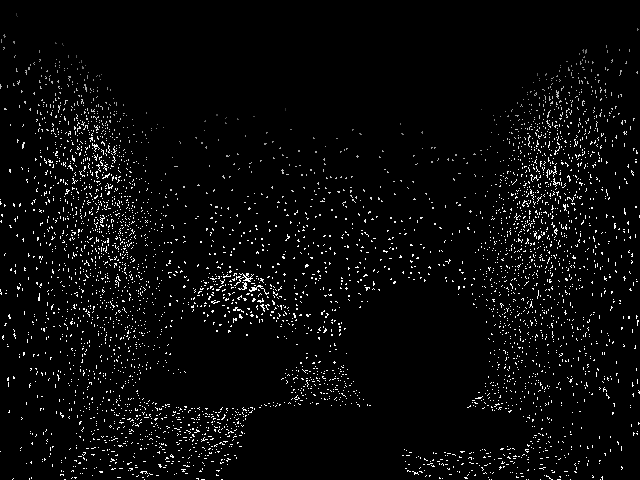
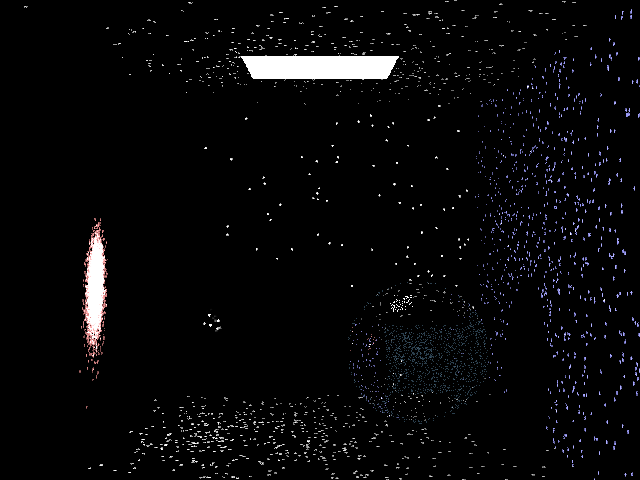
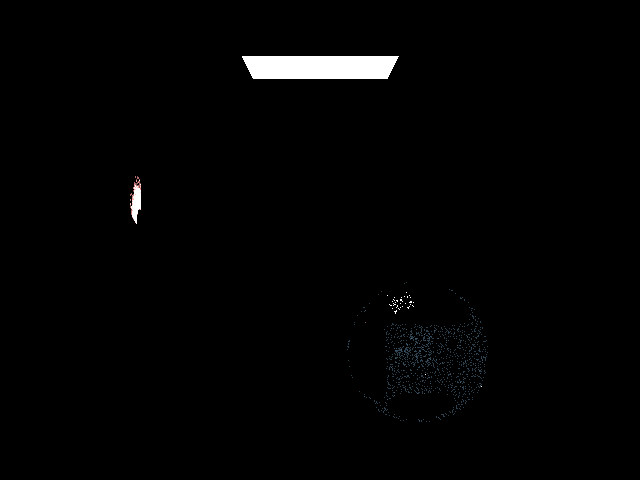
This shows the first landing locations of all the photons. They are well distributed and shadowed by the balls.
The artifact in the bottom is due to a bug with quad sampling fixed later (as seen in the later screenshots).
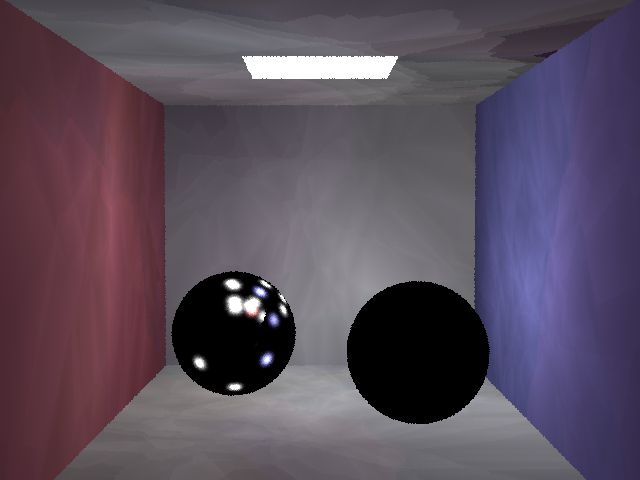
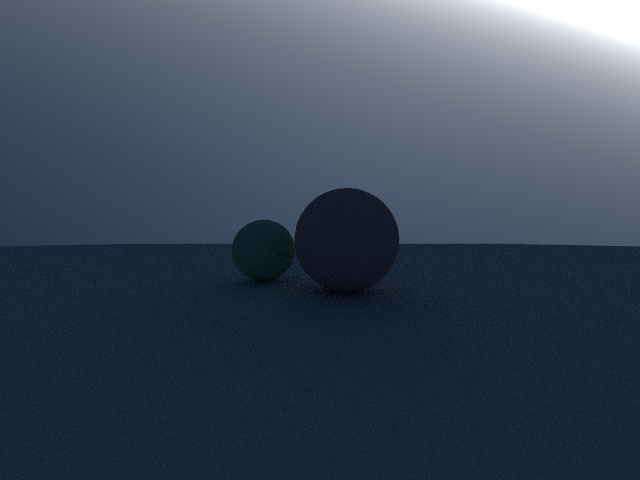
This shows a simple photon mapping scene with 1 nearest neighbor and very few photons. The artifacts are very visible at
this low resolution but this image is a good a sign of a working photon mapping.
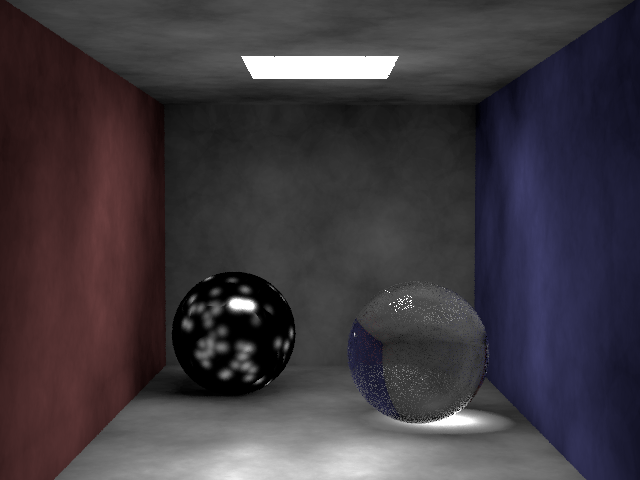
This shows good reflection on the blinn-phong ball. This was harder to achieve at other K-nearest-neighbors, while other
settings had better representations of other materials.
I think it would have been very effective to use progressive photon mapping to carry over the good rendering of phong
glossy materials from settings like these and of diffuse materials from more K-nearest-neighbors.
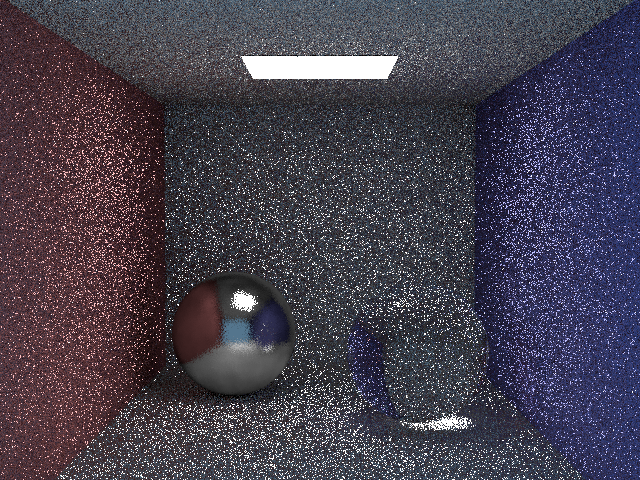
Final gathering also achieves the same result, but the artifacts in final gathering are more high frequency noise, while
in progressive photon mapping I think they would be lower frequency.
All other shown images are using photon mapping using a final gather approach to smooth out photon mapping artifacting.
## Metropolis Light Transport
I implemented metropolis light transport to focus the photons emitted by the sky texture.
As the sky texture is implemented as shooting rays inwards in a cosine-weighted hemisphere,
many of the photons missed the scene altogether.
Metropolis light transport helps scenes like this by guiding light rays (whether from the camera or from light sources)
towards the right targets.
I split up photon map generation into two phases.
### Phase 1: Metropolis Photon Gathering
In this phase, a small-medium number of photons is fired towards the scene as with normal photon mapping,
but photons are not added to a photon map.
Instead, to solve the problem of too many photons not hitting the scene, upon a photon hitting a specular or diffuse
material, I store the photon's original position and direction, as well as the sampler dimension the photon started at.
Additionally, this favors photons that hit the scene multiple times, as the origin photon is added each time a bounce
hits the surface.
This means that subsequent traces are more likely to hit the scene multiple times as well.
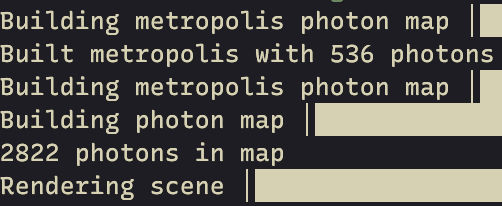
For a scene with 100000 metropolis photons, only 536 metropolis photons are recorded. Many of these will be duplicates
because of photons that hit multiple surfaces.
This scene is particularly unoptimized to the environment texture because of the large size, so even more metropolis
photons are necessary to adequately light the scene.
### Phase 2: Photon Map from Metropolis Photons
In this phase, I use the stored photon origins as the origins of all future photons.
Each photon's direction is nudged slightly, and then the photon's stored starting seed is applied.
This way, each subsequent bounce follows the same sampling pattern as the stored metropolis photon.
The thought behind this is that each light bounce will follow the same bouncing direction, but the slight perturbation
at the beginning will affect the overall path of the photon, resulting in a mostly similar path.

From the 536 metropolis photons recorded earlier, 2822 photons are fired along similar paths.

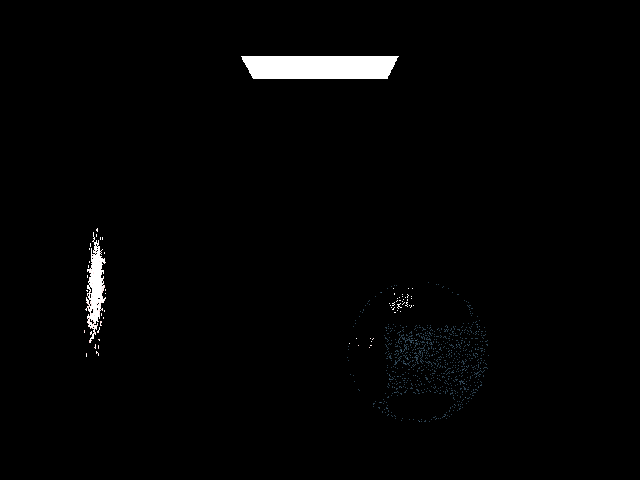
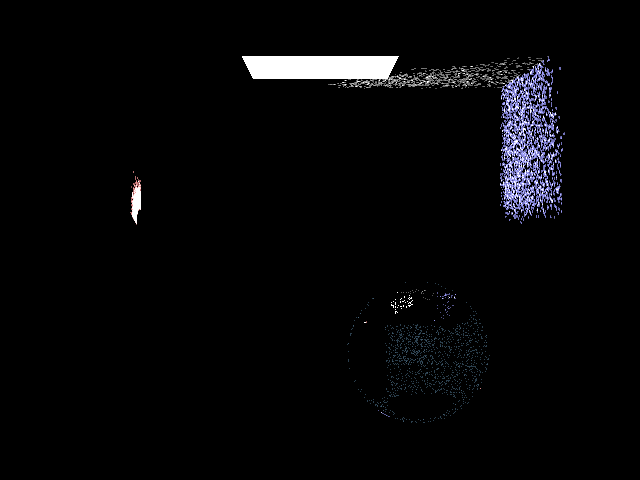
This is metropolis light transport with one metropolis photon fired in the first phase.
In the second phase, many photons are fired towards the path of the metropolis photon, and follow similar paths towards
their first hit (on the left).
Then, the photons bounce and again travel in similar directions towards their second hit (on the right).
All the used photons followed a similar path to the guiding metropolis photon from the first phase.
We shoot many photons using the metropolis photons as guides. Then, the majority of the photons will hit the scene
instead of firing into the background.
This doesn't affect much in the final render; it mostly affects the creation of the photon map, as the photons are fired
and stored more efficiently and thus fewer are needed.
One issue with this is that the final render becomes slightly darker with metrpolis light transport.
According to the Mitsuba renderer, this is a known issue with metropolis light transport.
We multiply the final render by some factor (dependent on the scene) to get close to the actual result.
### Limitations/Future work
My heuristic for a 'good' versus a 'bad' photon (one that should be pursued versus one that shouldn't) is whether the
photon hits the scene or not.
This works well for my scene, where the main problem was that photons were missing.
However, a more generalized approach could be to fire the metropolis photons and store them if the camera could see
them.
This would be much more involved as the photons would need to be fired, the camera would need to do an initial
raytracing (to account for specular surfaces) to see which photons landed, and then detect those using a normal
K-nearest neighbors
or proximity search and store them. Adding another raytrace step would considerably add to the complexity of the
algorithm and the time it takes, but I think this would apply to more scenes (especially for windows like metropolis's
original aim) and make the photon maps more efficient.
## Stratified Sampling
I implemented stratified sampling to improve the sampling and noise of the image.
I first tried implementing sobol sampling with owen scrambling, and it was successful!
However, this posed a number of problems with metropolis light transport.
Sobol sampling (with owen scrambling) is dependent on the values that came before, as it depends on both a
dimension and an index which is scrambled with each random value generation.
This means that, although the dimension can be controlled with continued sampling, the index quickly goes out of
control. This makes it really difficult to consistently trace photons along the same paths as previous photon paths
without ruining the randomness of Sobol sampling altogether.
2 bounce Sobol sampling: photons go in the same direction following the metropolis photon. However, with subsequent
samples they are far more randomized.
This can still be used for Metropolis light transport, but this means that only the first (random) bounce of a
metropolis photon will be useful.
I implement metropolis so that multiple bounces are preferred, but sobol sampling does not pay attention to that.
By comparison, stratified sampling gives consistent results from one photon to the next. This makes Metropolis light
transport easy, as only the dimension must be set for each photon's journey to follow a similar path to the metropolis
photon.
1 bounce: they all go in the same(ish) direction.
2 bounces: all the photons are still going in the same(ish) direction.
### Limitations/Future work
More complex solutions exist that make Sobol sampling stateless and stochastic.
Using this, it would be possible to achieve a similar photon path to a metropolis photon every time.
However, these solutions are pretty complex. Someday!
## OpenMP Parallelization
I used OpenMP to parallelize the raytracing step of the rendering.

Before OpenMP, for an example scene.

After OpenMP, for the same scene. Over a 3x speedup!
This factor is quite a bit smaller than the 8 OpenMP threads used, but nonlinear gains are to be expected, as it can
take a long time to start a thread (perhaps on the order of hundreds of thousands of clock cycles).
This involved cloning the sampler for each thread and locking any shared data behind a mutex, which is largely the
benefit of having samplers instead of a global randf().
### Limitations/Future work
I was unable to parallelize the photon mapping section of the algorithm (mystery segfault!).
However, this was largely unnecessary as the photon mapping section (the second phase and *especially* the first phase)
were already much faster than the raytracing section and this wouldn't have improved the render time as much as the
raytracing section did.
Additionally, a far goal would be to implement this algorithm on the GPU. The GPU specializes in parallel processes and
would thus be able to solve many photon traces at once. However, this would require an extensive reworking of logic and
data flow to make each photon independent of each other and compatible with GPU process rules.
## Nishita/Preetham Sky Environment
I implemented the preetham sky environment for a realistic background. I wanted this to the only lighting in the scene
(no sun or area lamps).
At first I tried implementing Nishita, which traces light along its path through an accurately-sized atmosphere, and
splits up the path into several segments.
At each segment, the scattering towards the sun direction (not the initial ray direction) is measured and compared with
both rayleigh and mie scattering functions. These measurements are summed together to get a final color for the sky at
each point.
It looked great!
Nishita lighting at various times of day. The lighting looks really natural and nice.
Direct sun lighting is warm and the shadows (from the light of the sky) are a soft blue,
and this is nicely changed with a different sun position for evening/golden hour lighting.
However, there were some floating point errors that showed up only with brighter scenes and only with direct lighting.

The pink bar at the top represents an exponential function that was fed too high a value and became infinity.
This was insurmountable because I wanted my final scene to be lit in bright lighting with a direct view to the sky, and
a bright pink line would be unacceptable.
I then implemented Preetham, which was much less complicated and results in a slightly less appealing (but still pretty
cool image).
There are still a few inconsistencies with this implementation, as the scene is much more yellow than is should be – but
it works (as seen in the final image).
I implemented these algorithms from both directions.
Since this is a photon mapping integrator, I needed the environment to do a lot of the lighting (or in the case of this
final render, all of the lighting).
At the same time, a camera ray that misses the scene altogether should hit the sky and result in a sky-colored pixel.
I implemented the algorithm in both directions so that the sky would both accept camera rays and fire light rays.
### Limitations/Future work
The sun is the most important part of the sky for lighting, and I currently deal with this by sampling from the sky and
firing a ray. If the ray is coming from the sun, it goes in a straight line in the sun's defined direction - otherwise,
it just goes towards the scene semi-randomly.
However, this is unlikely to sample from the sun, which is relatively small in the sky. The obvious solution to this is
importance sampling of the sun, but this requires a probability distribution function that I have no idea how to
calculate. The atmosphere functions are already quite complex and I couldn't find any literature on a PDF for any of
them.
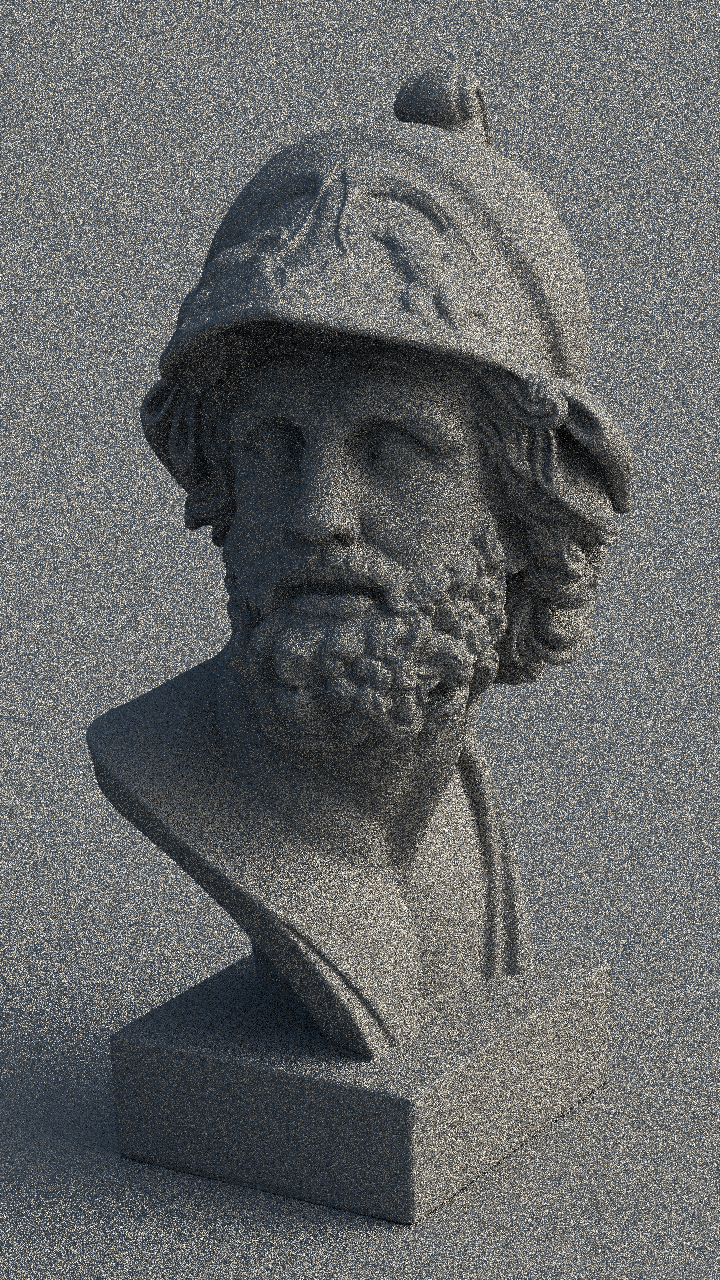
## Intel Open Image Denoising
I implemented this to decrease the noise in the final render.

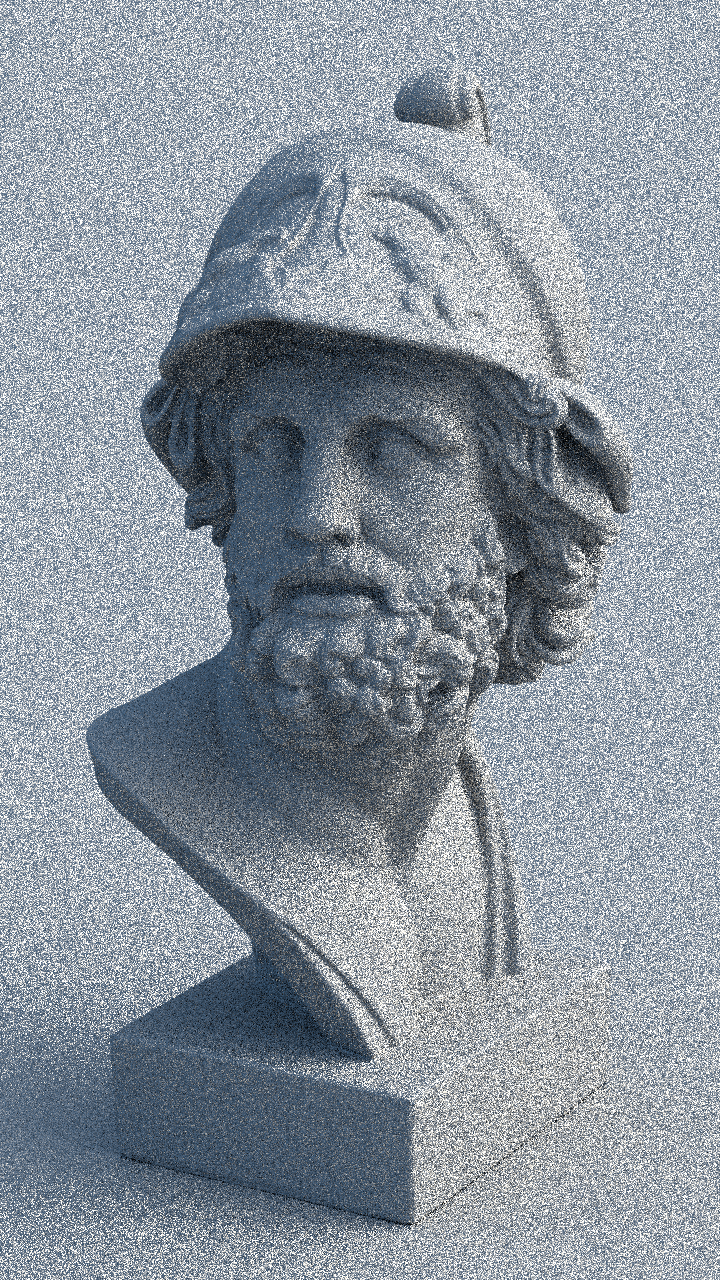
Original version, no denoising
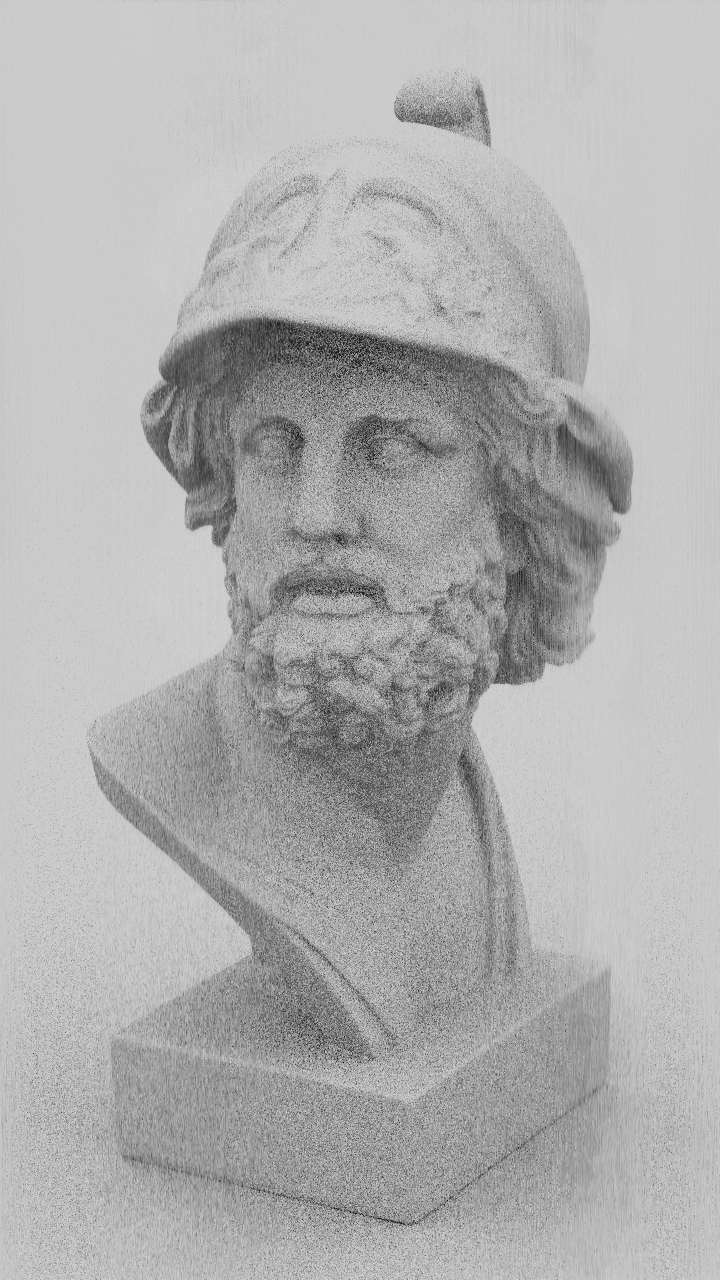
Weird output due to an indexing error! But it shows a very promising result.
The fine noise is all filtered out and the (visible part of the) result is very clean and smooth.
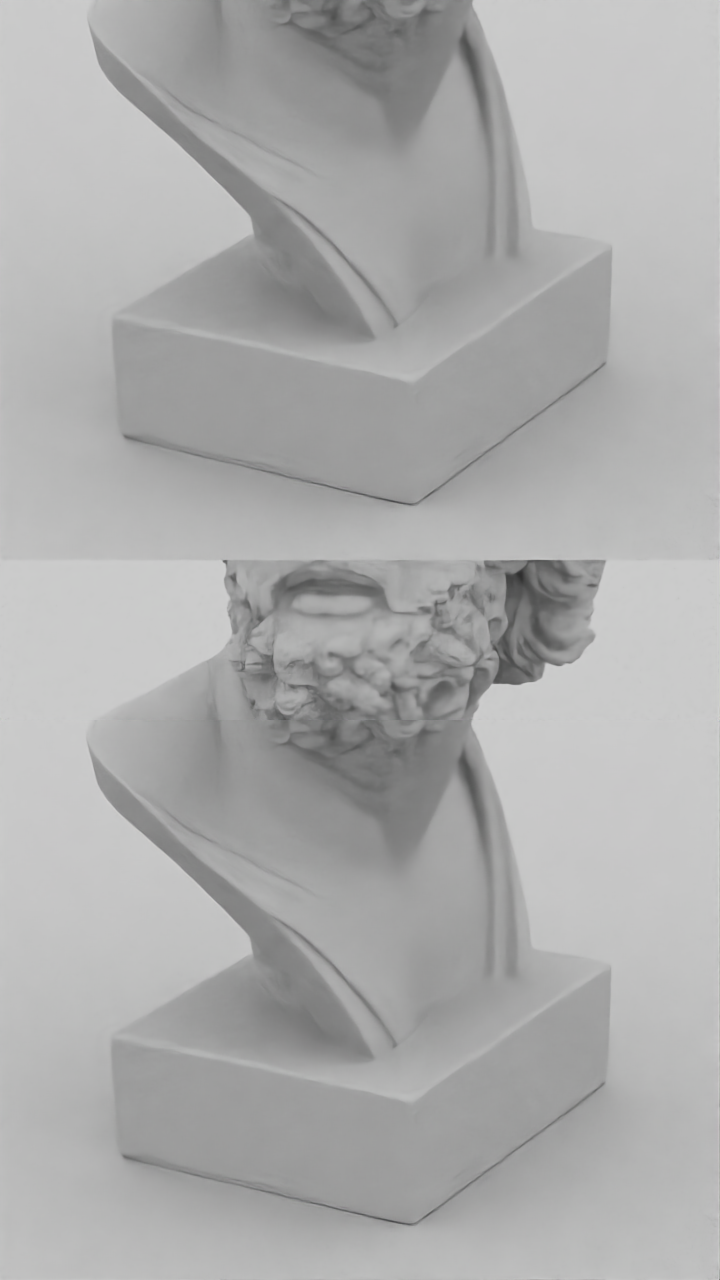
For some reason, after fixing the indexing error and putting the pixels in the right places, the denoising did not work
at all. The image looks mostly the same, except for what looks like a stain on the bottom right of the image(?). I read
the Open Image Denoising documentation pretty thoroughly and I couldn't find anything that matched this description...
but I would guess the inconsistency is because the OIDN algorithm uses a CNN for machine-learning based denoising. If an
image like this was used in the training data that might have affected the result (although I don't understand machine
learning *too* well, so I don't know.)
### Limitations/Future work
I think the errors with this could have been solved by using more feature buffers. I tried using the normal integrator
output to help the output, but color + normal was "not a supported combination of features". I could have implemented an
albedo integrator to get the color of each material, which would have been able to combine with the color and normal
features and would make a much stronger denoised product... but I didn't have time.